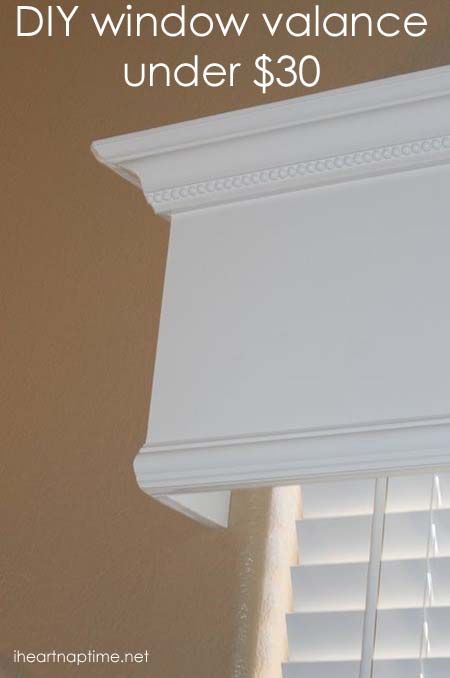
Tutorial: How to make a wood valance window treatment
To make this you’ll need to start out with a long piece of MDF wood. Decide how long you want it and how wide. I bought a pre primed piece of MDF wood and had it cut down to 65” x 11”. Measure your window and decide what your measurements will be. I wanted a fairly large cornice so I chose 11 in. for the height but I think anywhere from 5”-12” would look great.

I bought some trim to place at the bottom of the board to add a little more character.

We glued that on using power grab.

I also wanted to add one of these scrolly things to the base. I LOVE those things…whatever their called. ;) After everything was glued I added two coats of Swiss coffee paint.

I had two 4” X 11” in. pieces as well to give the valance good depth. We attached these to the main board using L brackets.

After everything was attached we had to fill in some gaps in between the molding. We used wood putty for filling. That stuff can work miracles I tell ya. Once that was dry we sanded it down one last time and then I added one more coat of paint to seal the deal.

We then attached some more L brackets to the wall, so we could attach the wood cornice. Look how boring that window is. Not for long!


We also attached these wooden circles, so if I decided later to add curtains I could. These are found by the wooden rods at home depot. To hang curtains, you would buy a long wooden rod, and place it between the circles. Then you could hang your curtains from the rod. I found the awesome idea on All Things Thrifty. I plan to add curtains later… I just need to decide what color and find time to sew them.

So what do you think of the window treatment?!
I love how it turned out, and it looks great in our living room.
Let me know if you have any questions.
UPDATE: To see more from the living room makeover click here.
FAQ:
It was cut at a 45 degree angle. It is more difficult than cutting normal base boards or chair rails, though. The trick is that when you are cutting it, you can not just lay it flat and cut it at 45 degrees. In the cutting box the molding needs to be standing just as it will be standing when you have it on the valance or else the angle will be incorrect when you try to put them together. Does this make sense? Sorry, it is a little hard to explain.