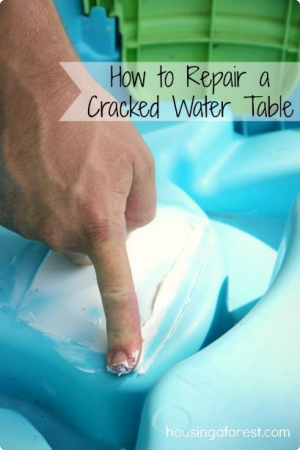
You will want your repair to be as seamless as possible, so push the cracked area back flush with the rest of the plastic. Once everything is flush, make sure to clean both sides of the water table to ensure a good seal.
- Tube of Clear Roof Caulking ~ used to seal roofing leaks. You can find it at your local hardware store.
- Caulking Gun
- Clear Plastic Container from our Recycle Bin ~ we used a strawberry container, but any clear plastic would work.
Flip the water table upside down. You will be placing the patch on the underside of the table. Next, squeeze a liberal amount of clear roofing sealant onto the backside of the water table.
Next cut a piece of hard plastic that is just larger than the crack. Apply more clear caulk to the plastic piece (it is white when it first comes out of the tube, but it dries clear). The key to this seal working is lots of adhesive. Remember you are placing the patch on the underside of the table.
 Rub the plastic to remove any air bubbles, this will also spread the caulk out in an even layer right to the edges of the plastic. You don’t want any air bubbles under the patch.
Use your finger to apply a thin layer of caulk over the edge of the plastic as well. Sealing right to the water table. We also flipped the table back over and ran a thin bead of caulk over the crack. Set the table aside for about a day to allow for the caulk to dry and cure. It will be clear once everything is dry.


