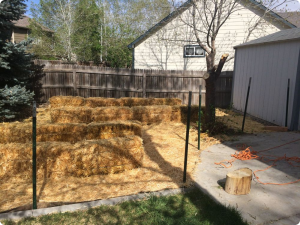
This year our family decided to finally put in a garden. Not just any garden. Oh no we go BIG or go Home! We chose a Staw Bale Garden. Why you ask? Here are a few reasons as to why we put in this type of garden:
*75% less labor
*Raised height, easy planting
*NO weeding
*Extends the growing season
*Higher germination on seeds
*Predictable performance
*Impossible to overwater
*Holds moisture well
*Creates new media yearly
*Easy to move location
*Automated water daily is okay
*No crop rotation needed
*Can plant top and sides
*Creates loads of A+ Compost
*Prevents disease issues
*Prevents insect issues
*Prevents rabbits/deer issues
*Can be located anywhere
*Prevents early season frost
*No heavy work, tilling
*No tools other than a hand trowel
*Warmed root zone at planting/seeding
*Eliminates soil-borne disease
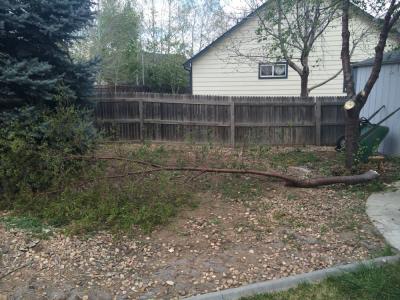
So this is the lovely spot we chose to put our garden. I mean what else could we do with the barren land?
Step 1. Chop down this dead tree. Thanks Honey! You are the best.
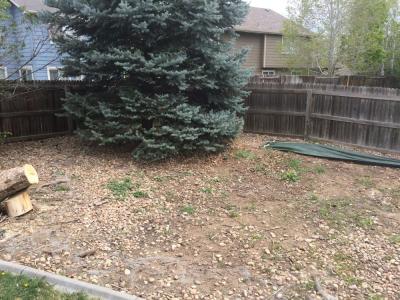
Step 2. Cover this waste land with grown cover/ garden cloth
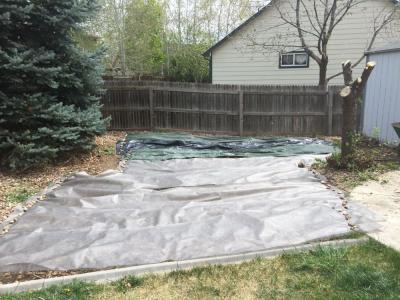
Step 3. Step back and admire your work. Awe doesn't that look better already?
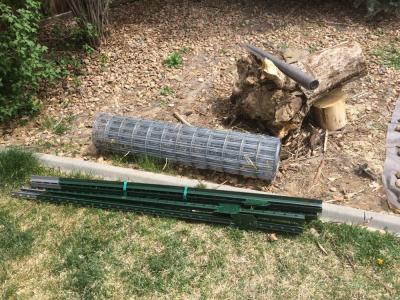
Step 4. Unload the trailer full of fencing materials and start to bring in the straw bales. It is important that you place your straw bales cut side up, strings on the sides. Also when determining how many rows you want make sure your bales are facing north to south.
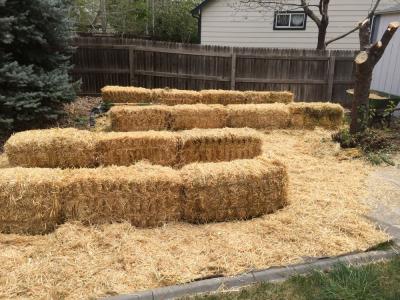
Step 5. Place your straw bales and design your space. As you can see we made two rows of four straw blaes, and two rows of three straw bales. We purchased 16 straw bales each weighed 50 pounds. So we moved 800 pounds of straw this afternoon! The extra two bales are scattered through out the garden as ground cover. One bale broke so we just went with it :O)
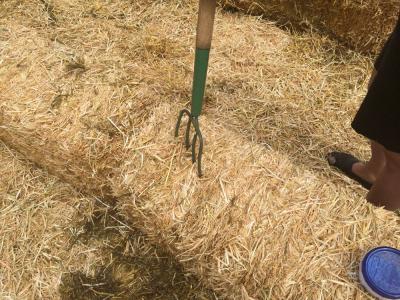
Step 6 Conditioning your bales. Using a pitch fork I poked holes in the tops of my bales to help aerate them and also to help the water and fertilizer work their way into the bales.
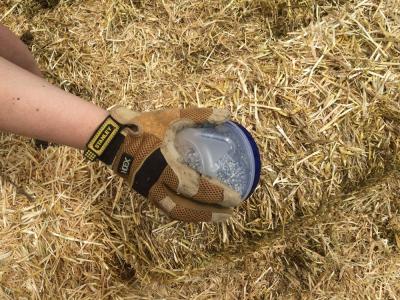
Step 7 Fertilize your bales. I purchased 29-0-5 lawn fertilizer No weed killer and Not slow release. If you are going organic purchase bone meal. I sprinkled 1/2 cup on each bale and then you need to saturate your bales with enough water that it starts to seep out the sides of your bales. Here is an at a glance chart I recieved from our library. It is how I condition my bales. I will write down this source at the bottom of this post so you can check out this awesome book!
At a glance Conditioning summary chart
* All volumes and quantities are per bale
| Day In Process | Traditional Fertilizer | Organic Fertilizer | Water |
| 29-0-4 No weed or slow release | Milorganite or bone meal | ||
| Day 1 | 1/2 cup per bale | 3 cups per bale | Water to saturation |
| Day 2 | Skip | Skip | Water to saturation |
| Day 3 | 1/2 cup | 3 cups | Water to wash in |
| Day 4 | Skip | Skip | Water to saturation |
| Day 5 | 1/2 cup | 3 cups | Water - warm is best |
| Day 6 | Skip | Skip | Water - warm is best |
| Day 7 | 1/4 cup | 1 1/2 cups | Water - warm is best |
| Day 8 | 1/4 cup | 1 1/2 cups | Water - warm is best |
| Day 9 | 1/4 cup | 1 1/2 cups | Water - warm is best |
| Day 10 | 1 cup 10-10-10 | 3 cups with P and K | Water to wash in fertilizer |
| Day 11 | Use meat thermometer to check | bales for 105 degrees or lower | |
| Day 12 | Plant today if 105 degrees or lower | Wait 5 more days | Water new plantings |
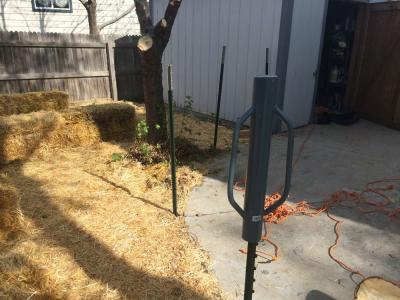
Step 8. Put up the fence.
First you want to measure your area and mark where your T-Posts will go. The best way to put in your T-Posts is with a Post Driver. TRUST ME we tried using a sledge hammer and wood and it took forever. Our neighbor asked what we were doing and we shared with him our goal for the day. He totally blessed us with lending us his! Woo Hoo those little gagets are pricey. We did the rest of the fence in no time.
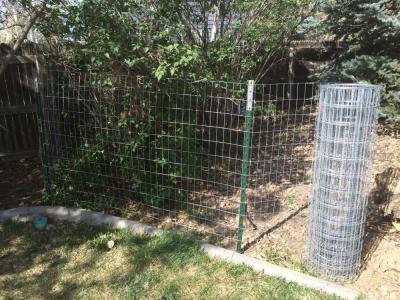
Step 9 Put up the fencing material using the heavy gage T-post brackets and pliers.
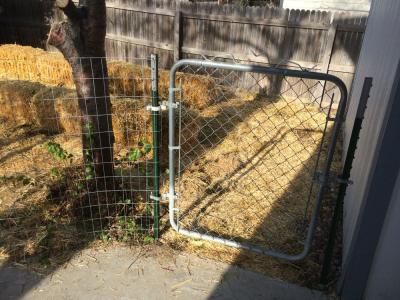
Step 10. Hang up the gate.
Here is a picture of the garden after phase one. My husband and I were so tired we forgot to take a picture of this stage. However, our daughter posted one on Facebook :)
Once the bales are conditioned, which takes 12 days to do, we will be able to plant our garden. I look forward to posting phase two in a couple of weeks.
*Source for chart Straw Bale Gardens by Joel Karsten

